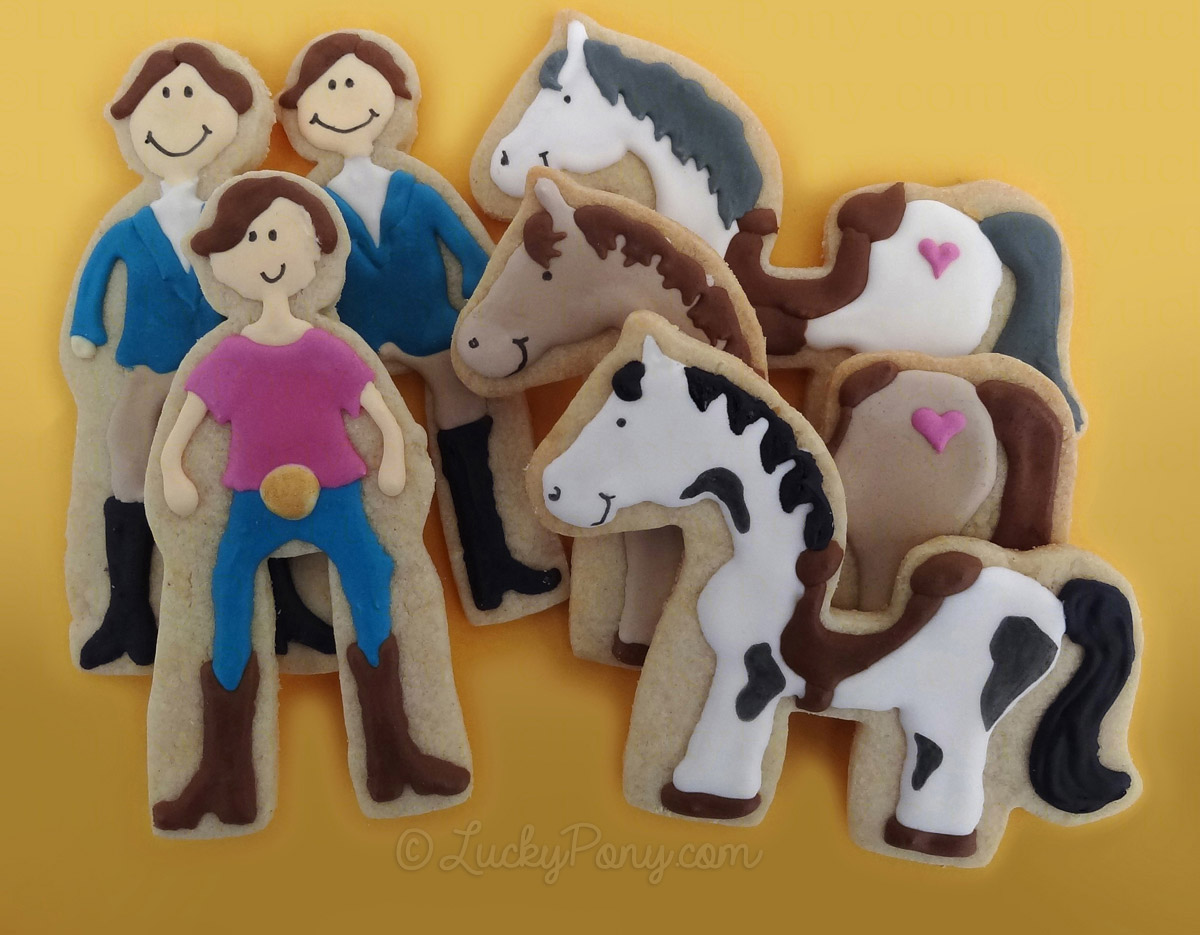
This post is Part 2 in a series on how to decorate our Stand Up Horse and Rider Cookie Cutter. For instructions on decorating the horse cookies that match these english and western riders, see Decorating Stand-Up Horse and Rider Sugar Cookies – Horse
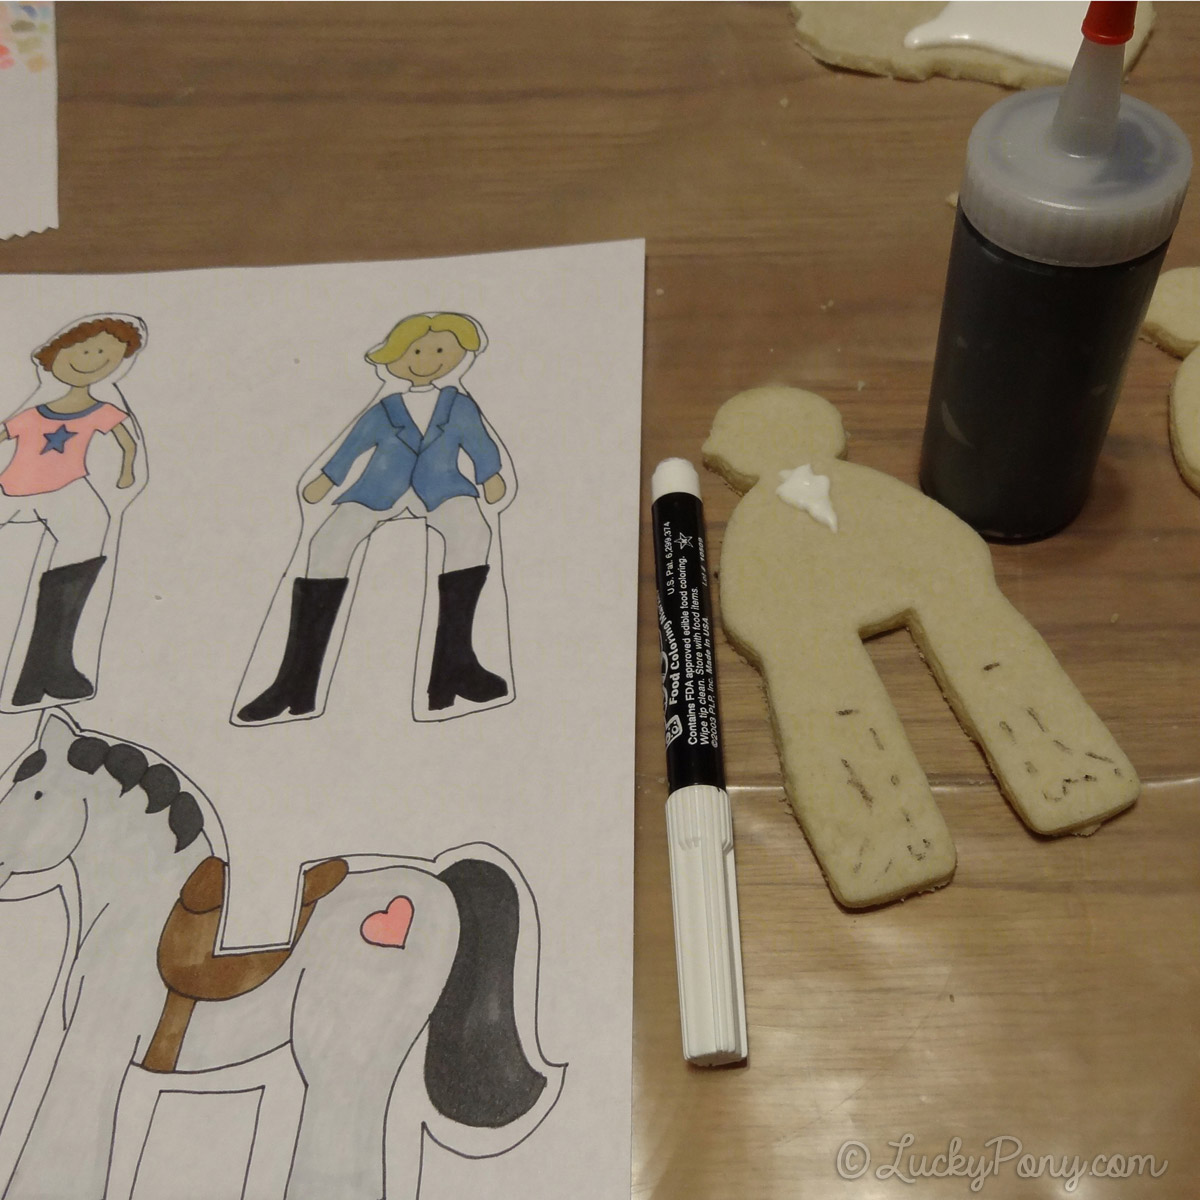
STEP 1: PLANNING
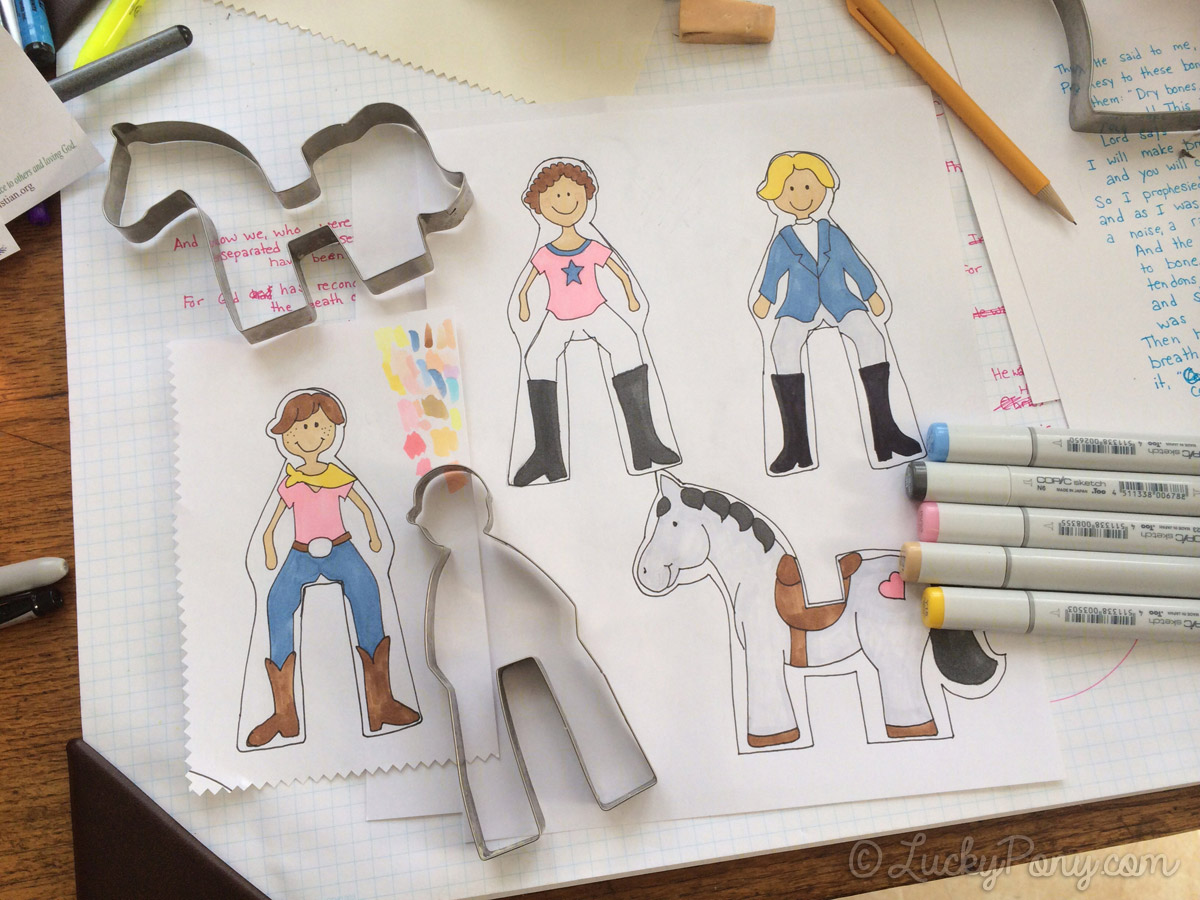
Always begin by planning your cookie’s design. Planning ahead helps to waste less icing and make more creative use of a less-detailed shape like this one. Design your own template or download our template to decorate our hunter jumper rider, cowgirl, or generic rider.
You can start decorating these cookies with any section you choose – although you should avoid ever letting two colors of wet icing touch, so you’ll probably want to decorate “top section, bottom section, top section, bottom section” in order to allow icing to dry and prevent colors bleeding.
Areas of clothing that overlap other pieces (like boots over jeans or breeches, and hair over face) should be done in the order of back to front, to help create an illusion of depth.
The ideal order to decorate would be:
skin,
undershirt (english rider),
jeans or breeches,
then boots and hair
then kerchief and belt (cowgirl) or riding jacket (show jumper rider)
You’ll see from my photos I progressed in a different order, but the decorating process is the same.
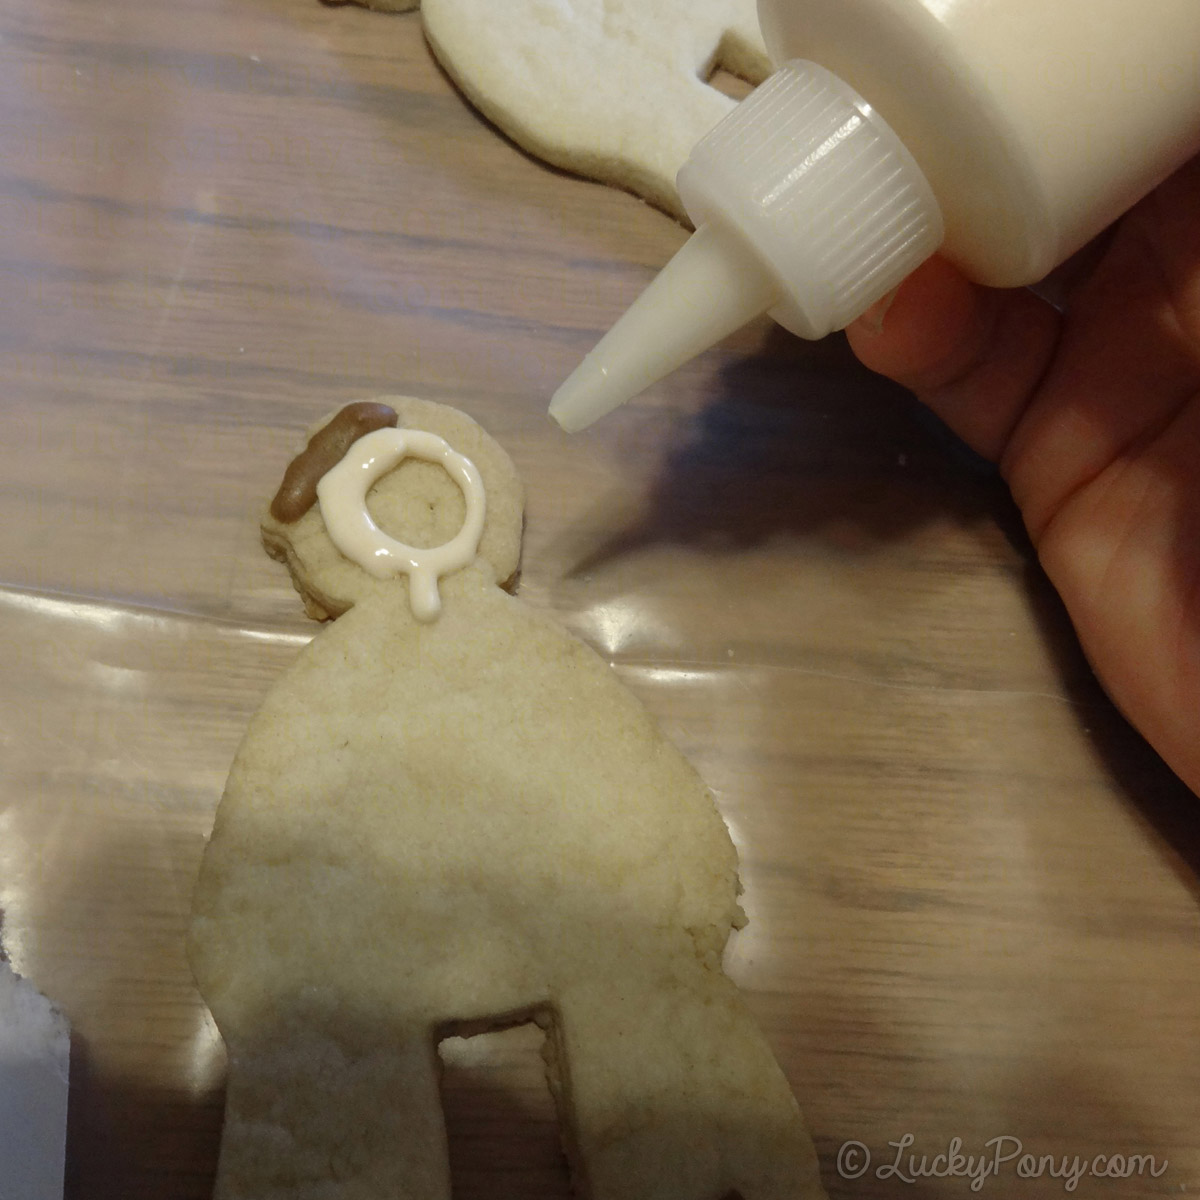
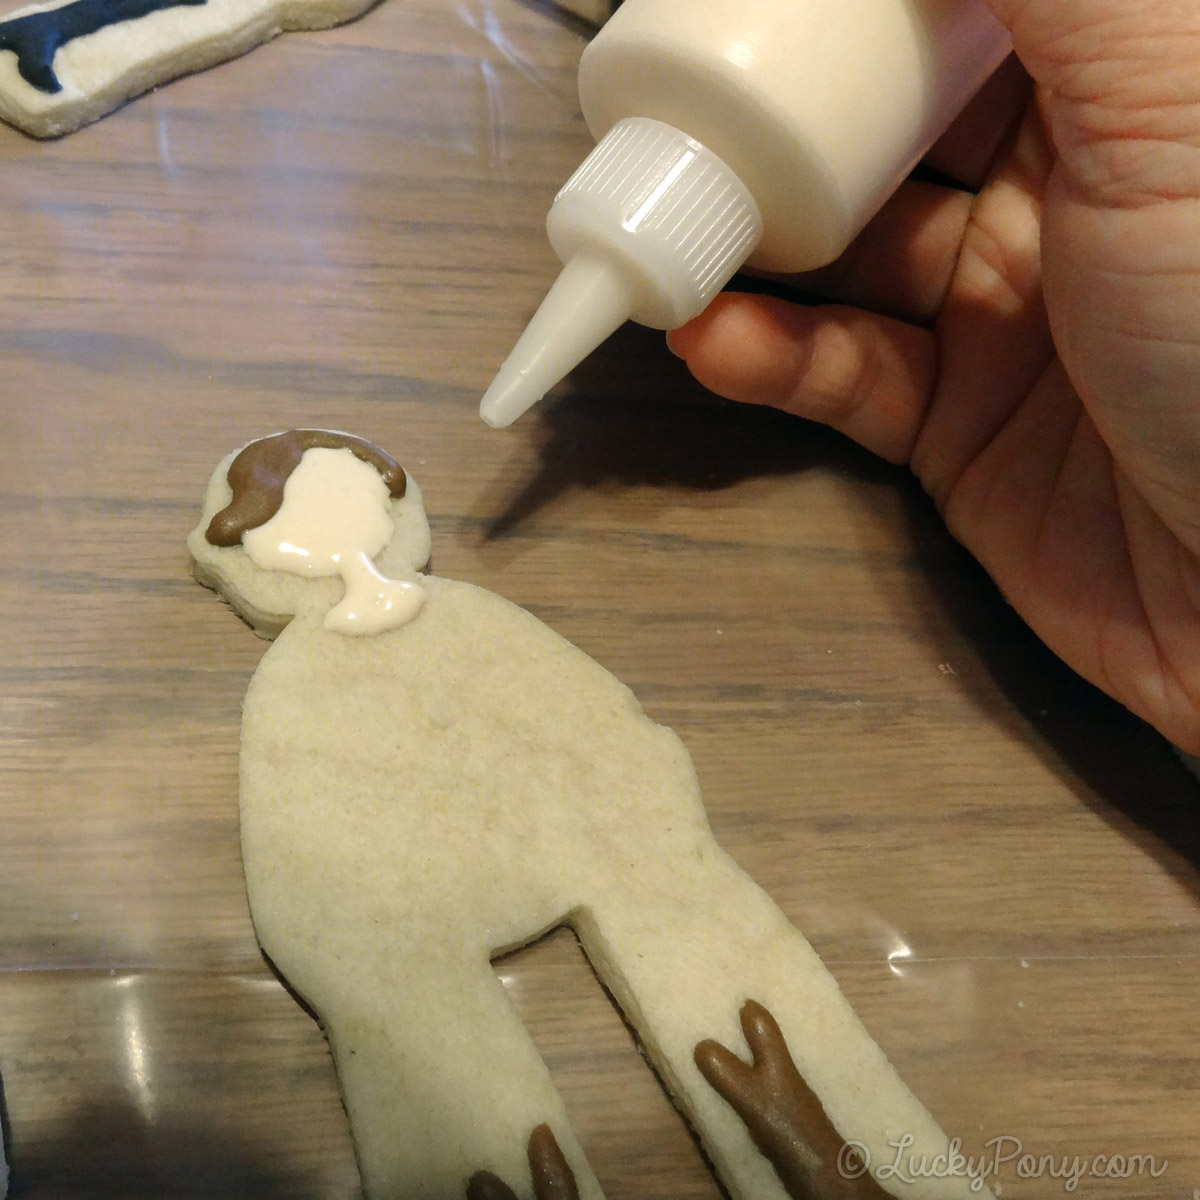
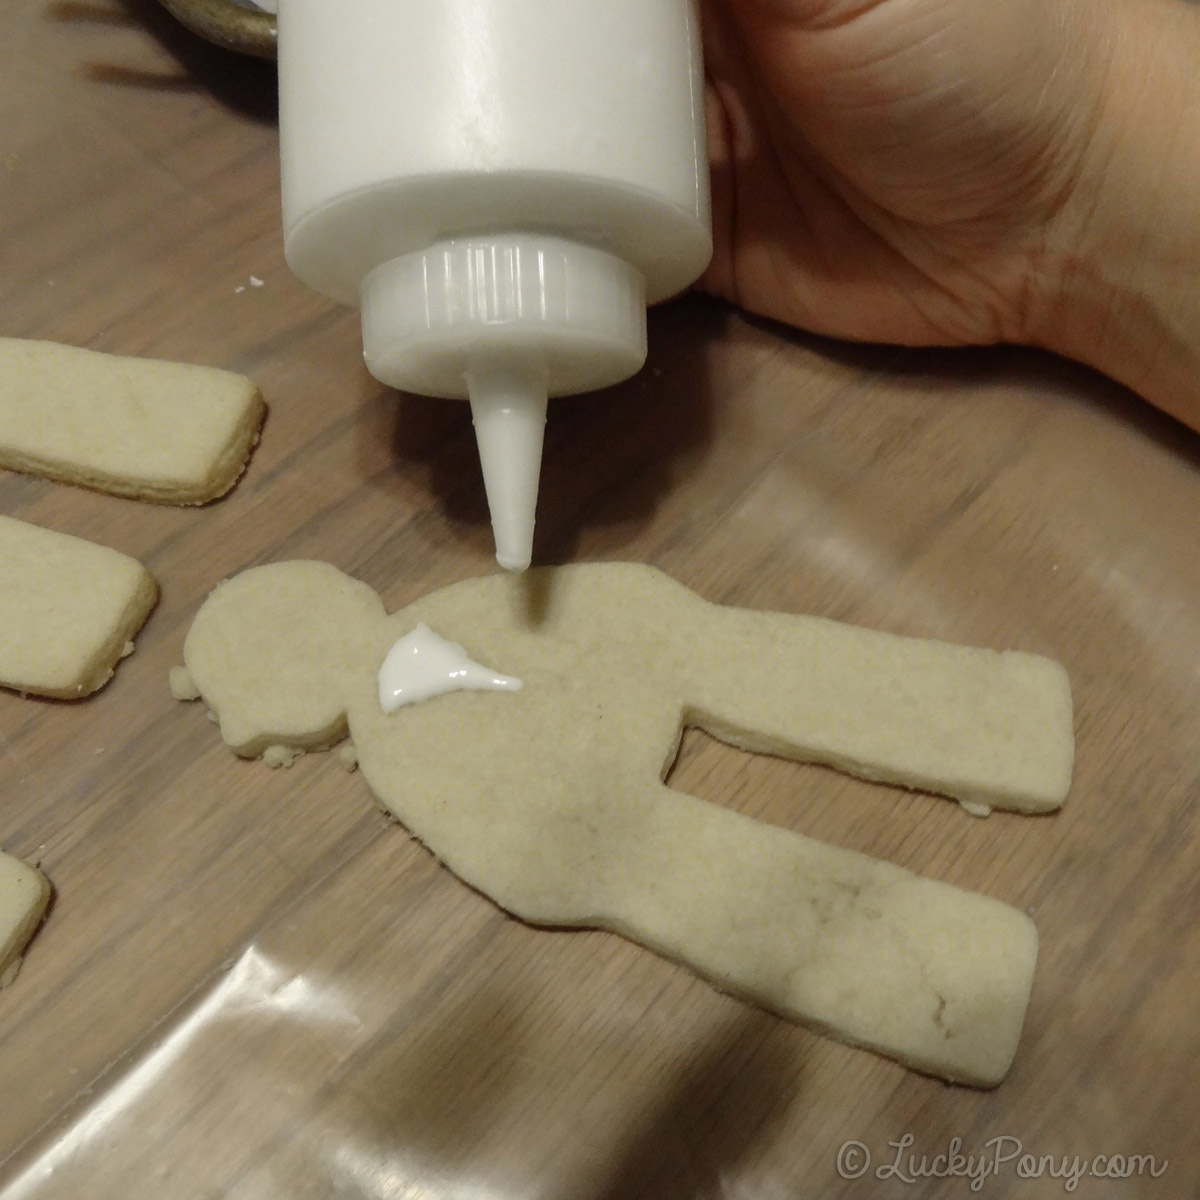
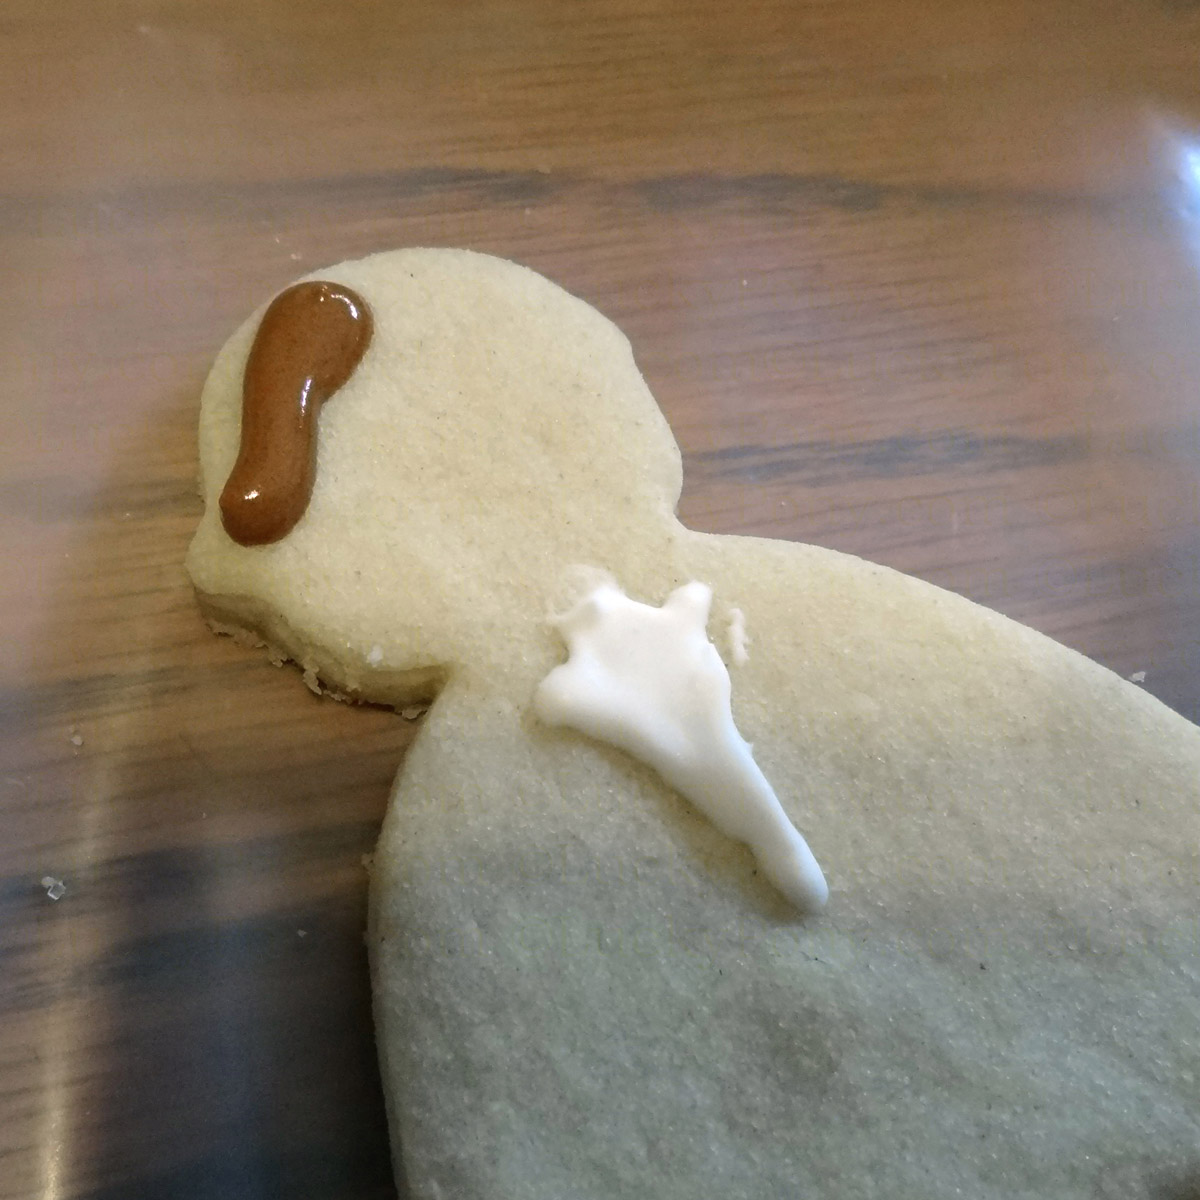
SKIN:
To create a smooth layer of skin, outline a face and neck and then fill the space in with semi-runny icing. Shake the cookie gently to allow a totally smooth finish:
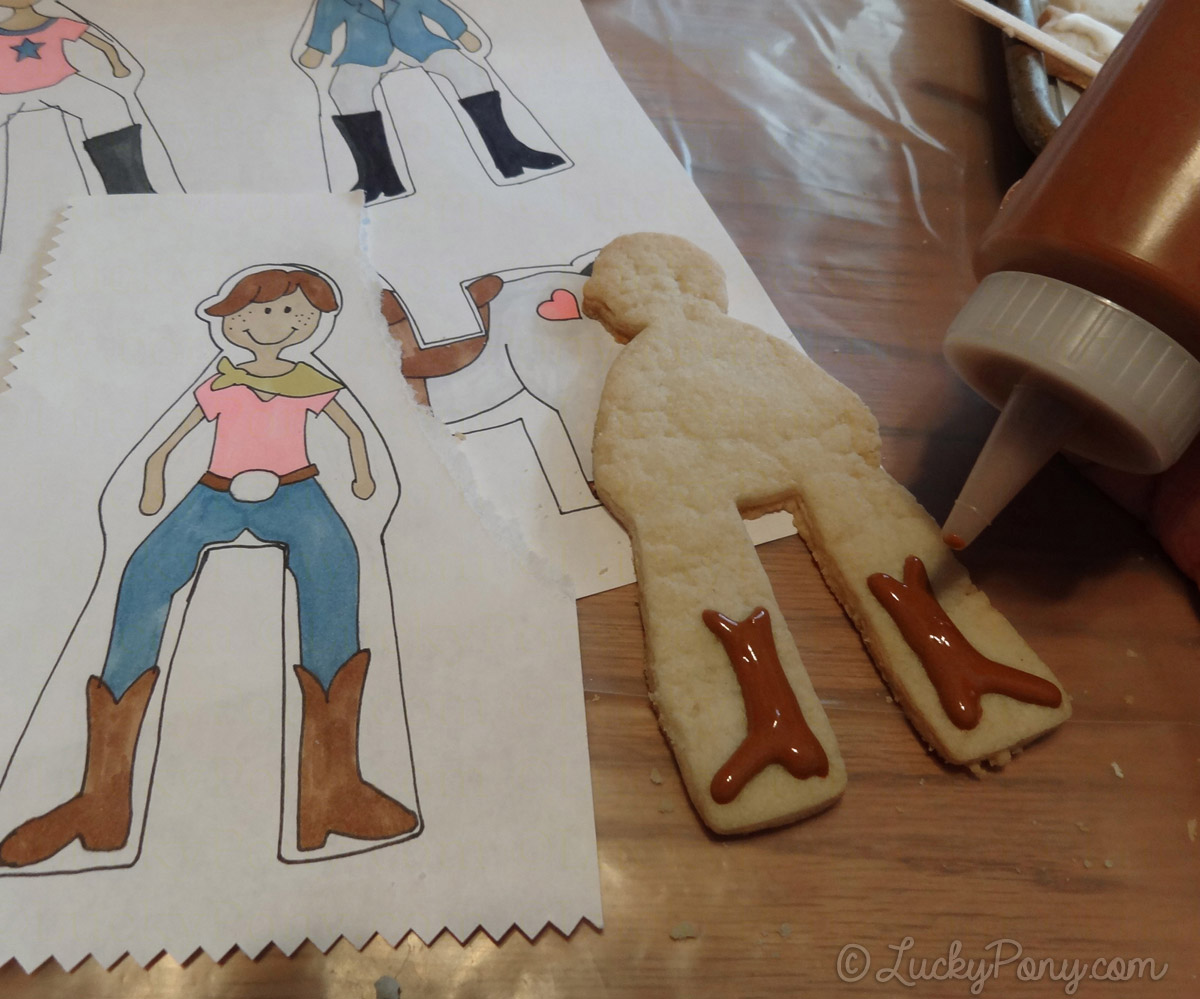
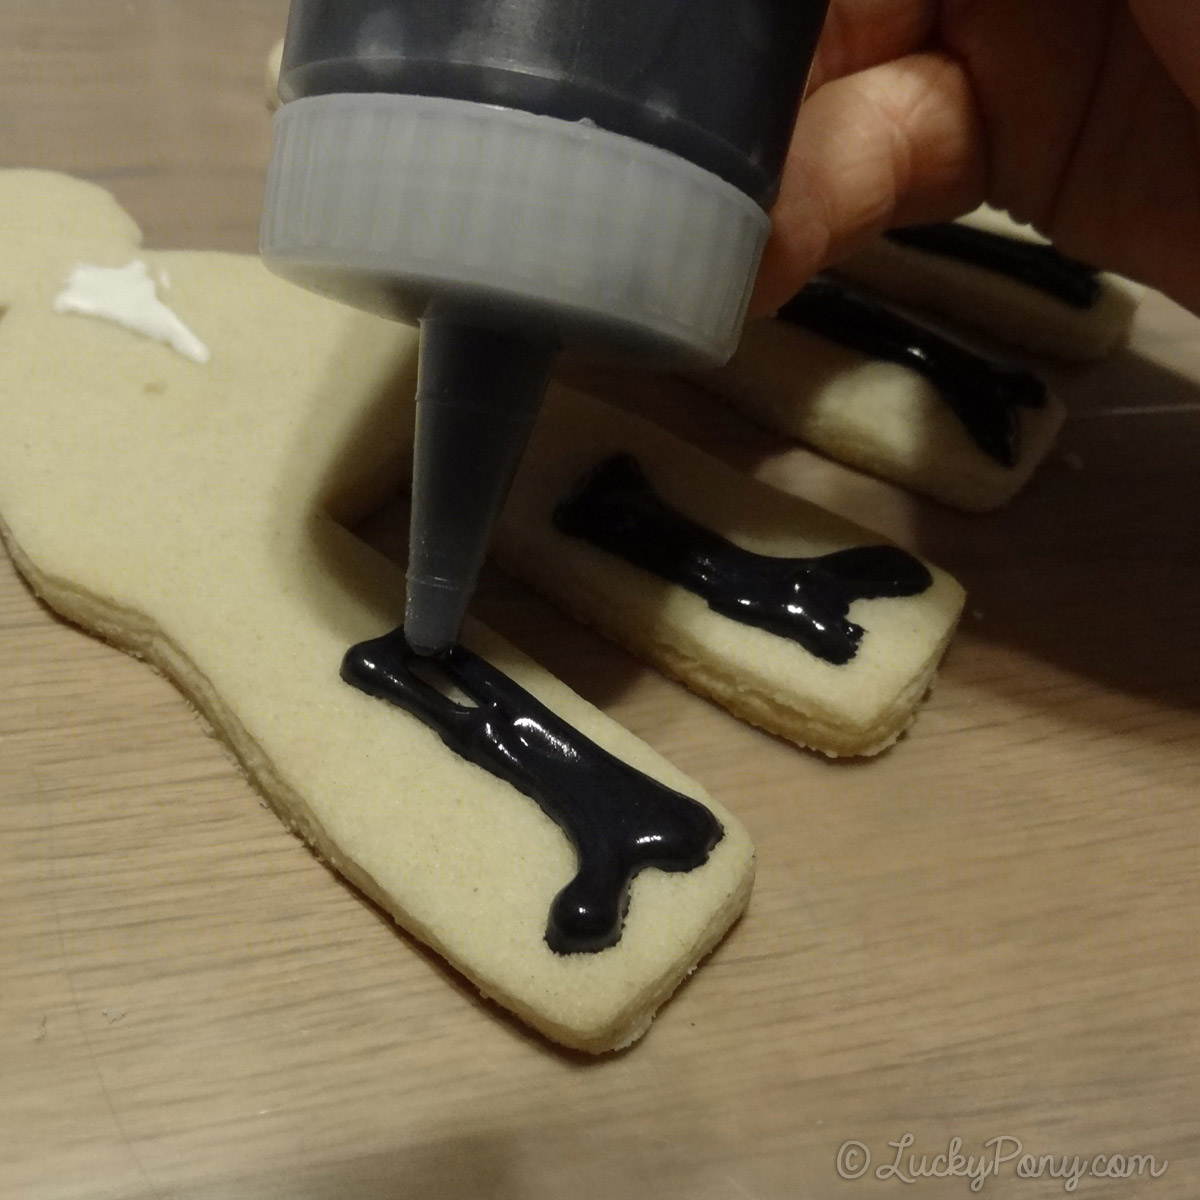
ADDING BOOTS
The boots look best if they are much skinnier than the width of the cookie’s leg. Exaggerate the contour of the top of the boot and of the heel, as pooling icing will likely erase some of the corners and curves.
To determine how tall boots should be, it may be helpful to fold the template into quarters and use that creases to visualize where to add icing.
WESTERN/ COWBOY BOOTS:
ENGLISH BOOTS:
It may help to use a food coloring marker to plan your boot before adding icing on top:
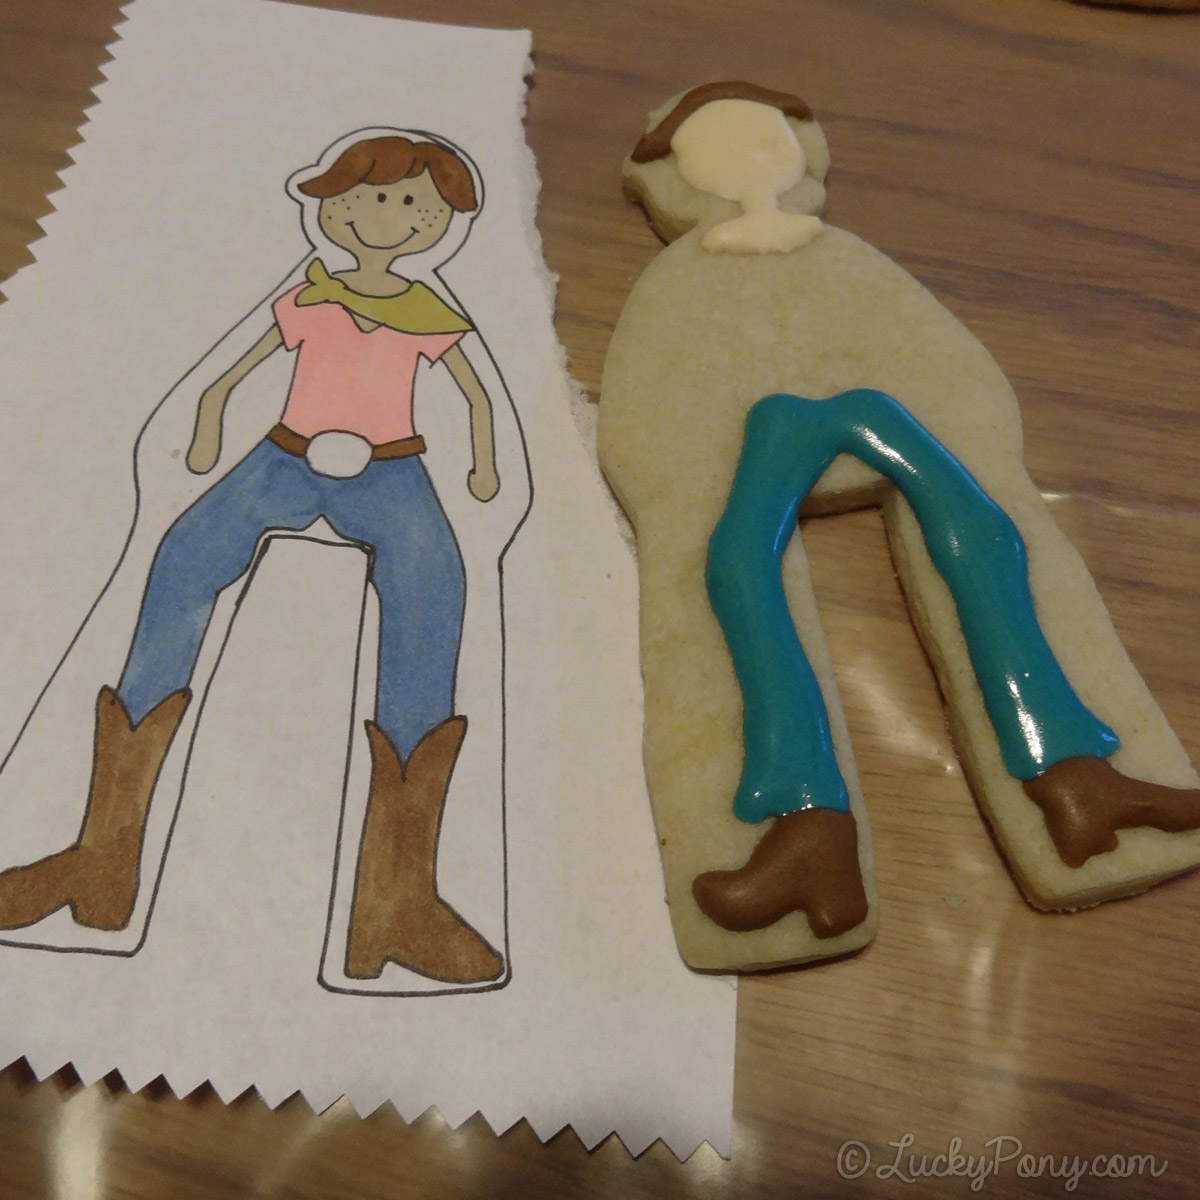
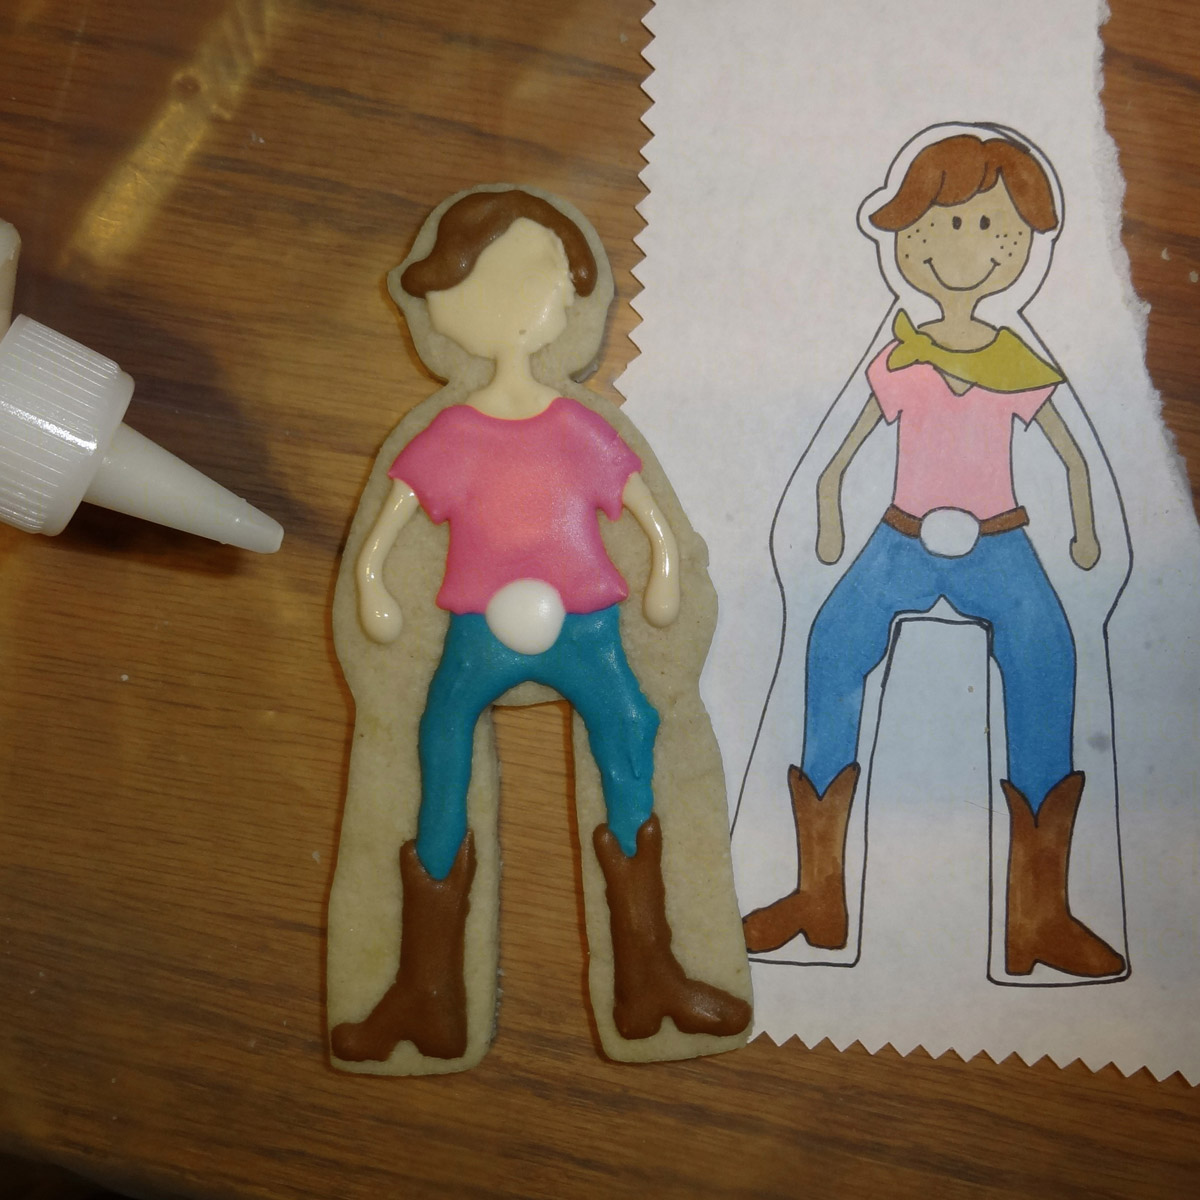
ADDING PANTS OR BREECHES
Preplanning and experimentation with sketching these cookies a few times showed that knobby, widespread legs turned out much cuter than following the contours of the cookie cutter shape, so I recommend using the legs outlined on the template.
Jeans & Breeches are decorated the same-
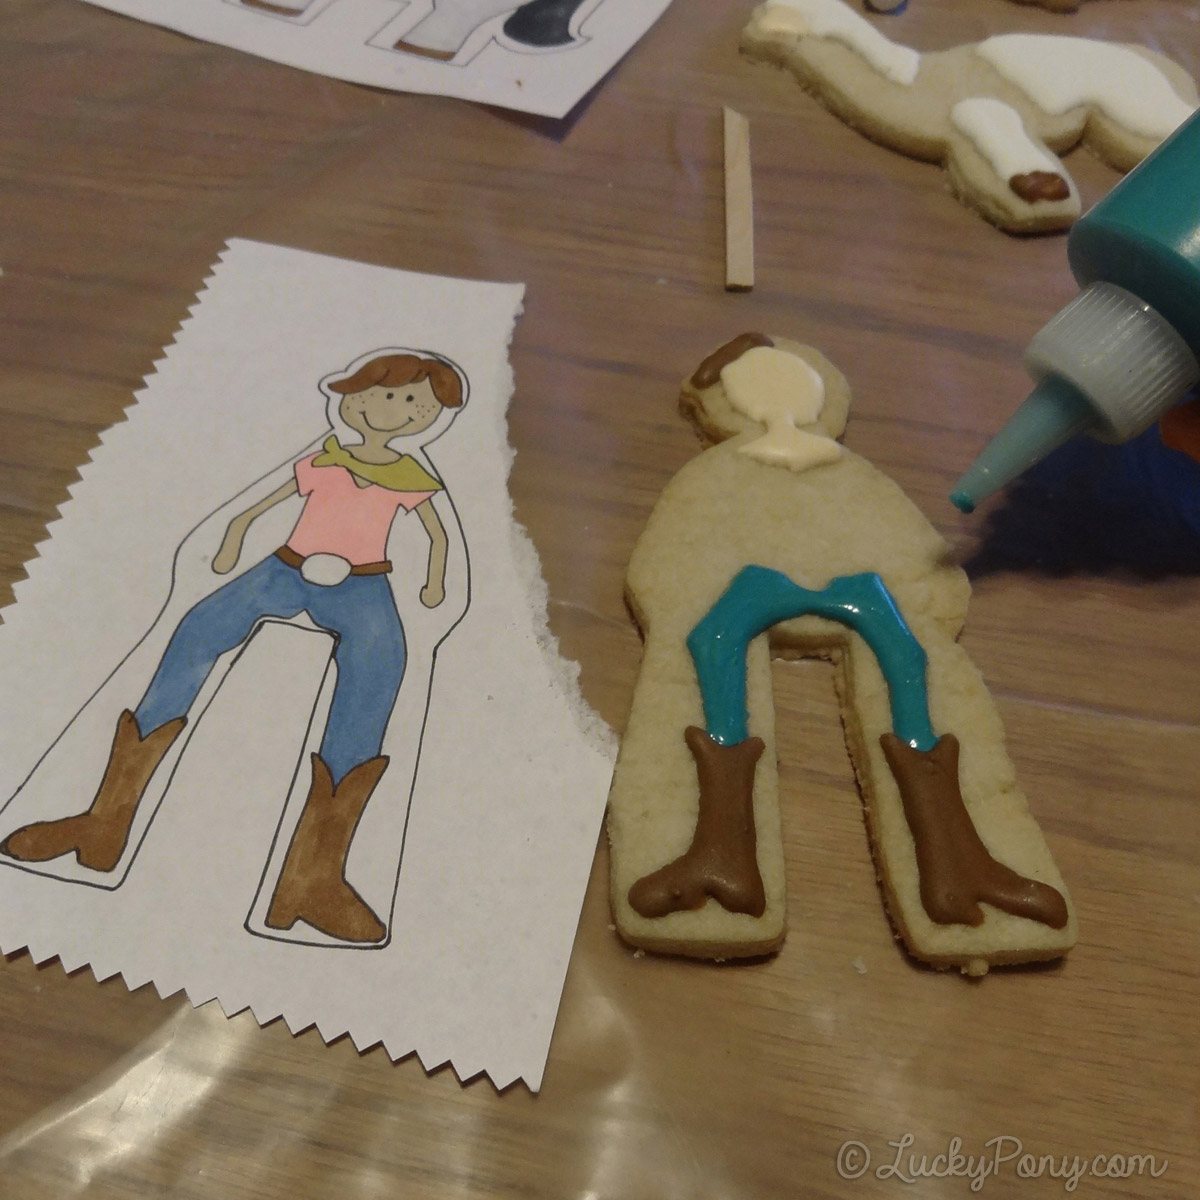

“Real” cowgirls wear their jeans over their boots- so if your cowgril has an opinion on this fashion, you may want to create short boots and long jeans! (Cowboy boots are usually only worn over the jeans in movies- most riders let the hem of their jeans cover their boots!)
SHIRTS:
If you are decorating the English Show Rider you’ll need to add the undershirt (called a ratcatcher!) and collar at about this time:
And a t-shirt for the western rider:
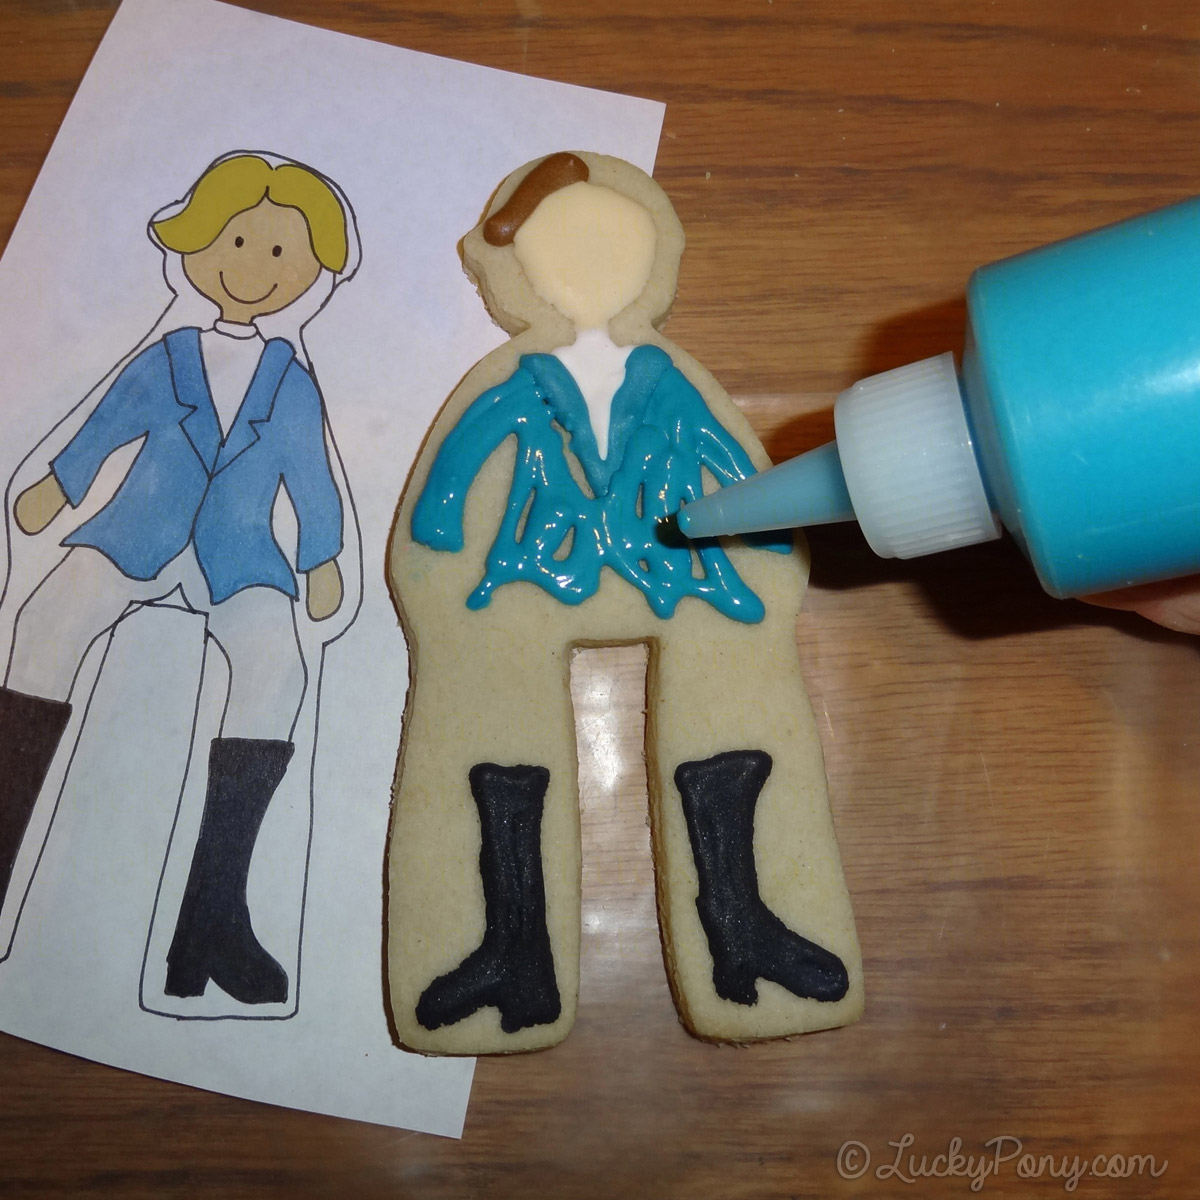
RIDING JACKET:
Once the english rider’s shirt is dry, use the template as a guide to add a jacket. In order to create definition between collar lapels and jacket, add the lapels, first, allow to dry slightly, then add the jacket chest, sleeves, and tail. gentle shake your cookie to smooth and pool icing:
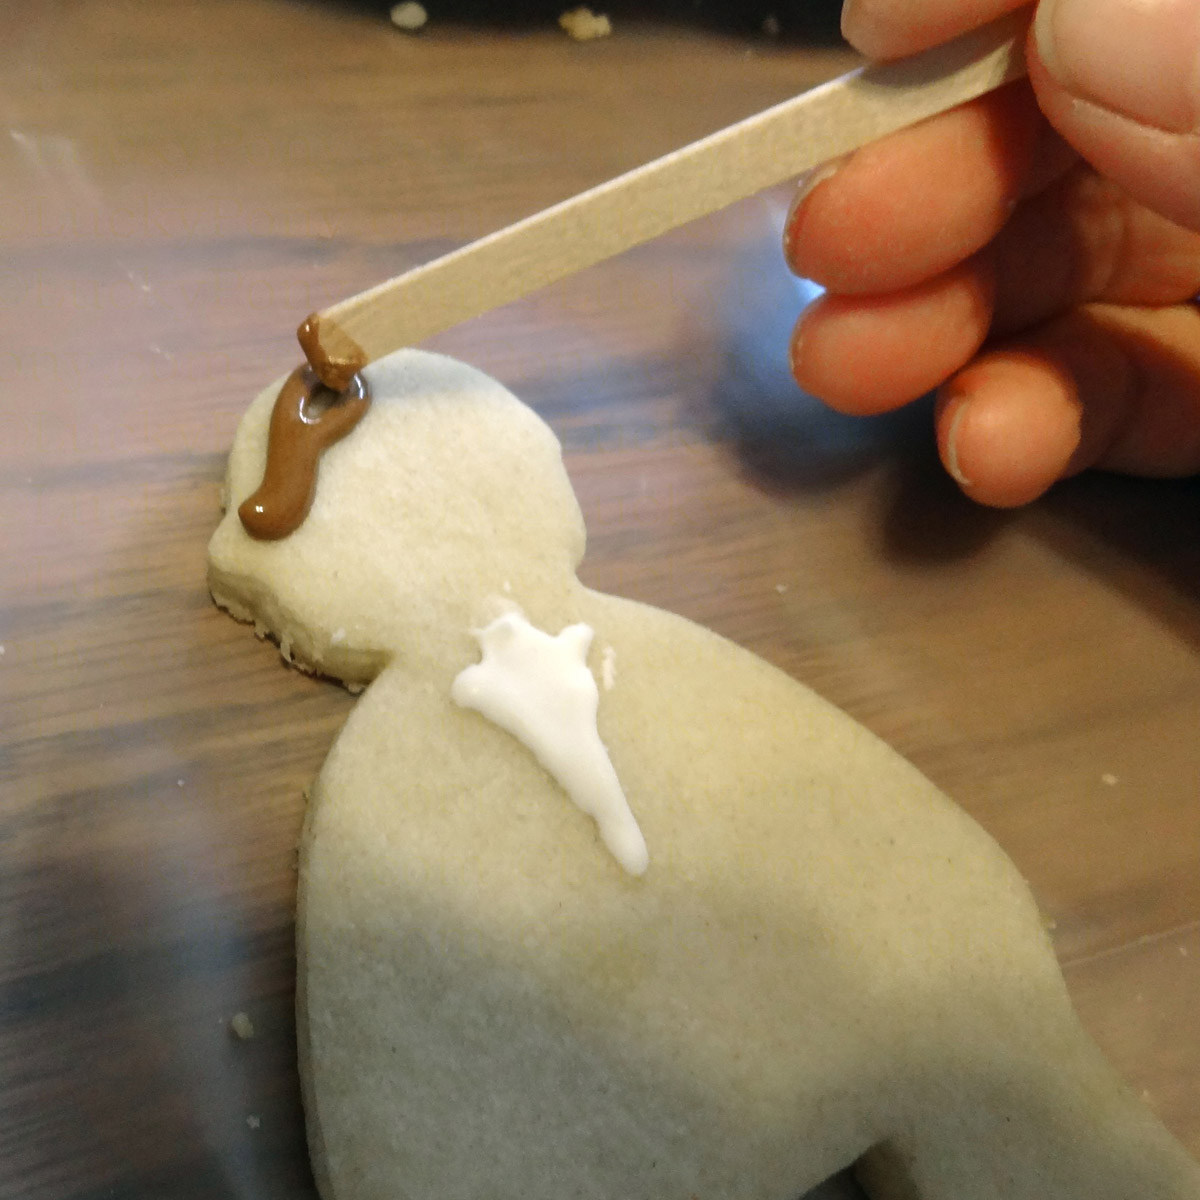
HAIR:
Hair can be added at any point after the icing on the face is dry. you can add hair all at once, or add one side, wait till dry, and add the other to create the look of parted hair;

Face and Eyes:
Although I love premade icing eyes, these cookies look best with the plain black eyes that can be quickly added using a fine tip food coloring pen.
To add facial features, first make sure the icing on the face has a hard, dry shell- preferably given overnight to set. Then draw the face and mouth with a pen containing edible ink. You can even add the names of party guests to each rider’s shirt (these make great place cards to assign seating at a party!) or add fun patterns to the boots or pants.
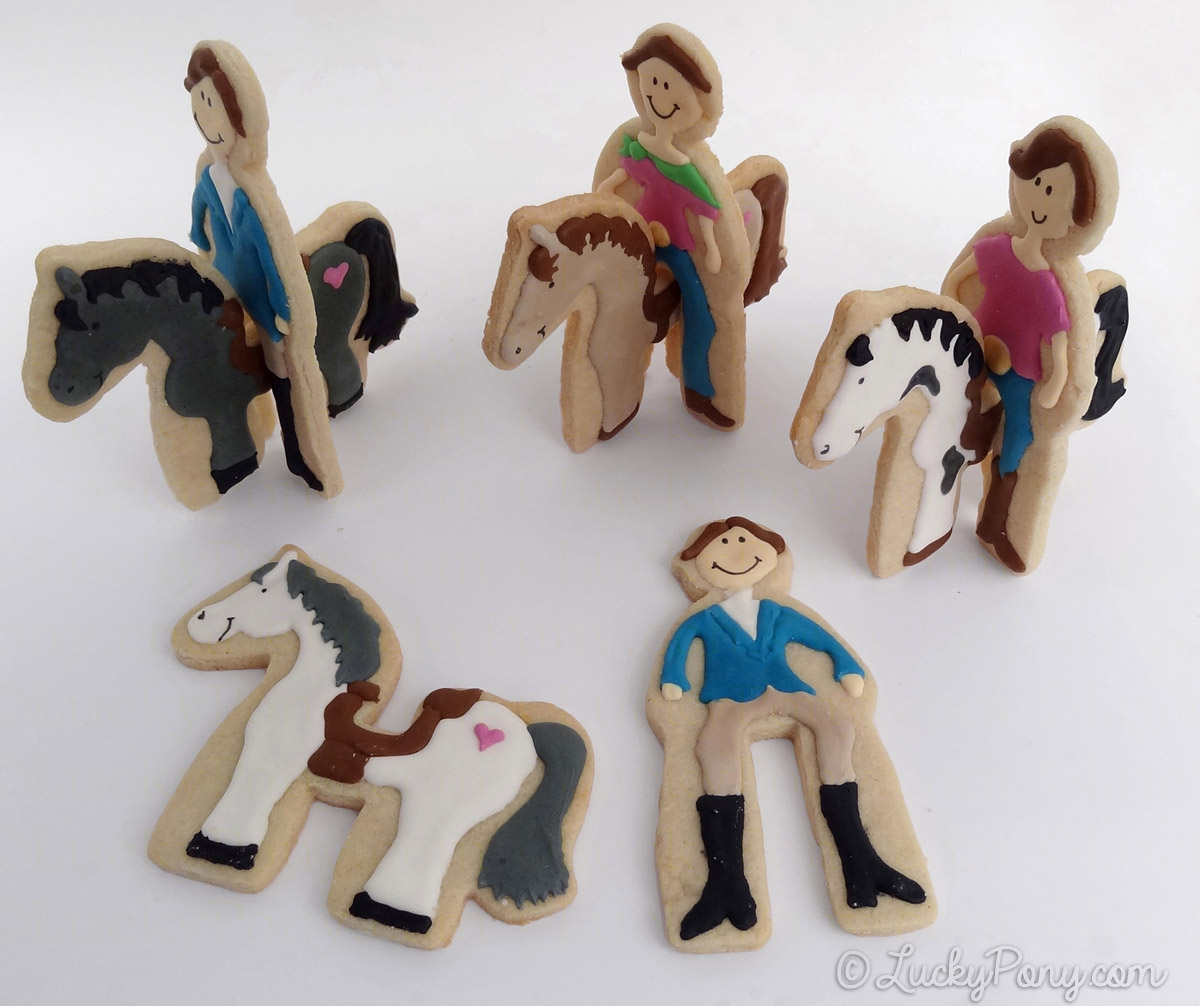
Mount up and Ride
Once your riders have a cull outfit and a great big smile, they are ready to be paired with their cookie steed to ride off into the sunset… err.. mouthful.
When you are finished, be sure and snap a photo and share on our facebook page!


Leave a Reply